Last year we moved on to a Cisco based telephony infrastructure and installed Cisco Jabber on our client machines. We deployed Cisco Jabber via Microsoft group policies using the standard MSI file provided by Cisco. The deployment was successful however we ended up getting a lot of complaints from the users about not being able to login.
After some troubleshooting together with support, we established that the GPO deployed Jabber application was trying to authenticate against a WebEx Connect server on the cloud rather than the Unified Communication server based locally in the LAN. Since there was no WebEx Messenger subscription, the login process was failing. The solution was to customise the MSI file and prevent the installed Jabber application from trying to authenticate against a Webex Connect server.
Note:
You need to add a SRV record on your local DNS server for the Auto Discovery to work. Depending on your version of Call Manager (in our environment we use 9.1), add the following SRV records, some environments may require both records:
Cisco Unified Communications Manager Version 9.x
_cisco-uds._tcp.example.com SRV service location:
priority = 6
weight = 30
port = 8443
svr hostname = IP or FQDN of your Cisco Unified Communications Manager server
Cisco Unified Communications Manager Version 8.x
_cuplogin._tcp.example.com SRV service location:
priority = 8
weight = 50
port = 8443
svr hostname = IP or FQDN of your Cisco Unified Presence server
For the purposes of this post I will be customising the latest version of the Jabber application, version 10.5. But the customisation should work with version 9.0 or higher. You will need to download and install Microsoft Orca for the customisation process.
Here are the steps:
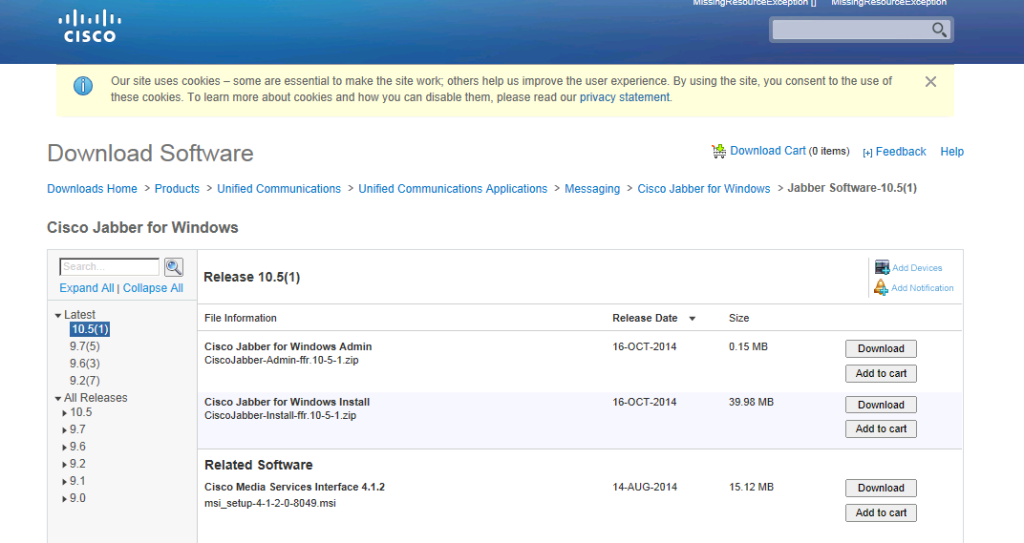
First download the Jabber version you want to customise including the administrator package. Extract both zip files under a common folder.
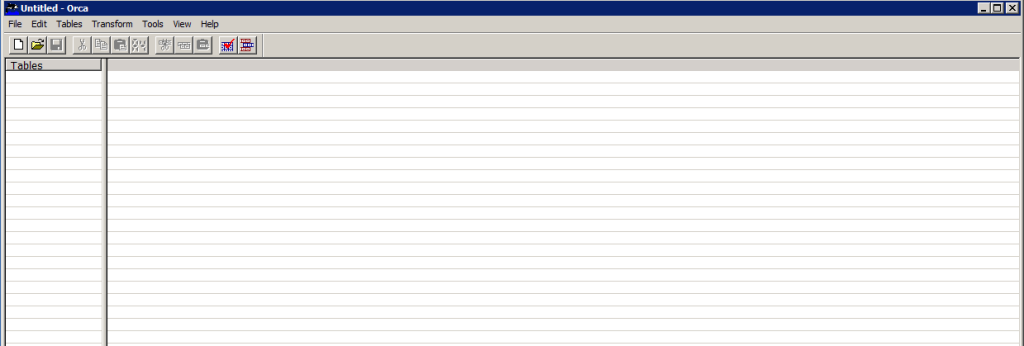
Start Microsoft Orca.
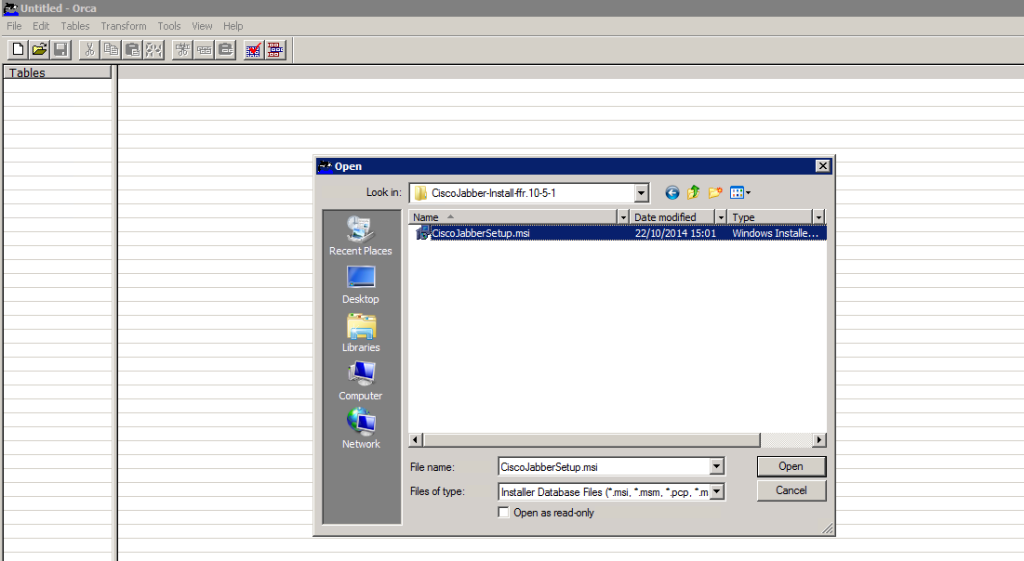
Open the MSI file using Microsoft Orca by clicking File then Open.
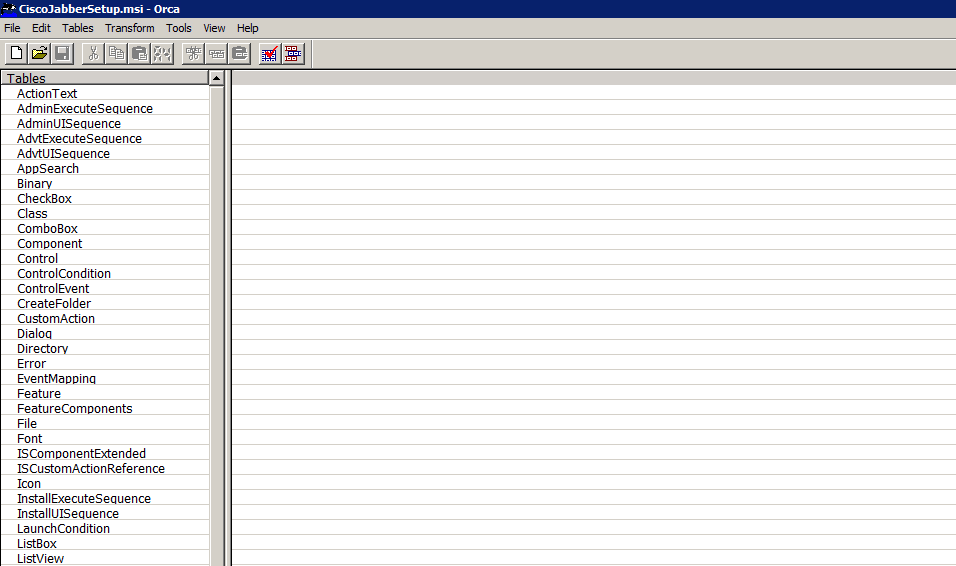
The tables column on the left hand side will get populated.
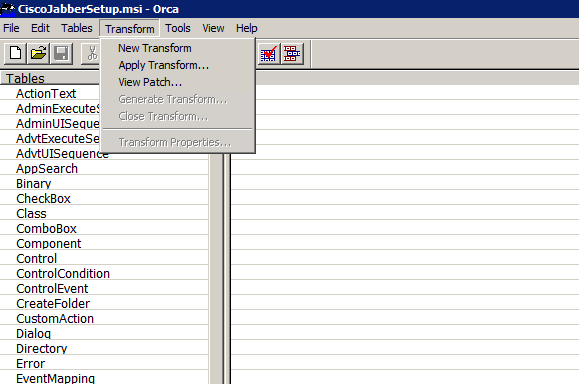
Click Transform and then Apply Transform.
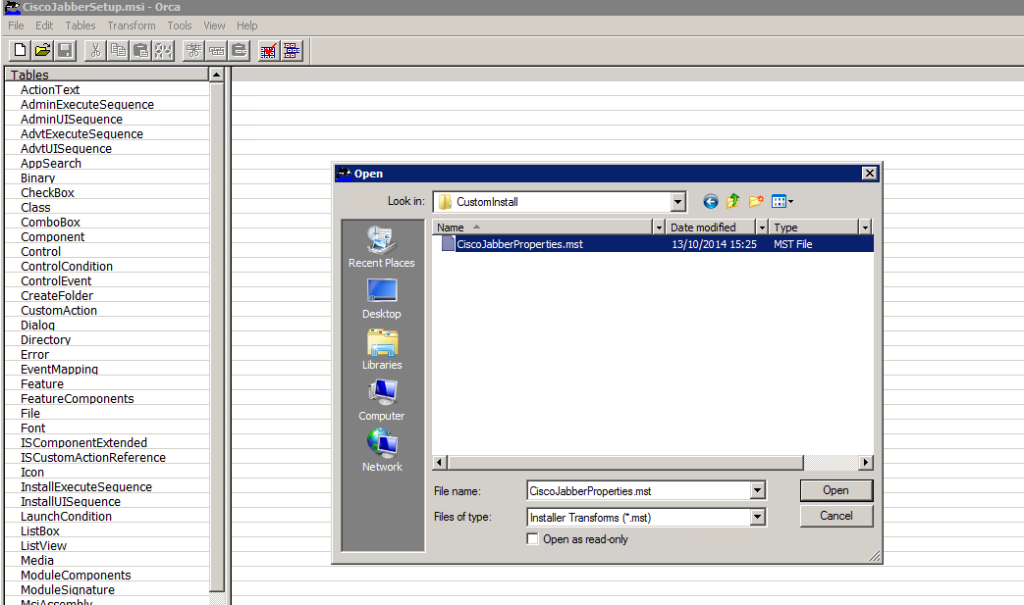
Navigate to CiscoJabber-Admin-ffr.10-5-1 > CustomInstall and open the CiscoJabberProperties.mst file.
Find the Property table on the left hand side frame and scroll down to the end on the right hand side frame.
Select the CLEAR item and change its value to 1.

Select the EXCLUDED SERVICES item and change its value to WEBEX.
Remove all the other green bordered items so only the CLEAR and EXCLUDED SERVICES Property items are left.
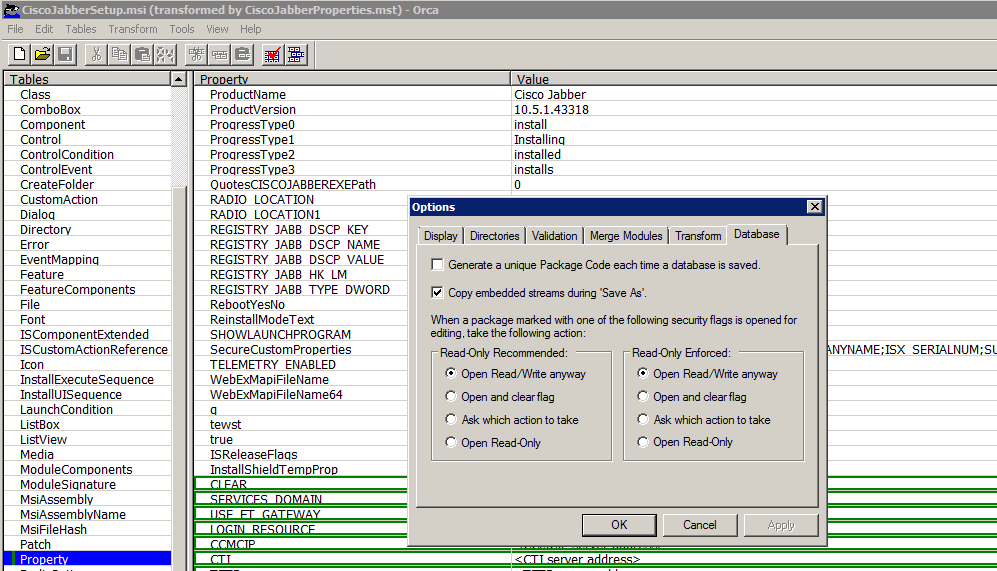
Click Tools then Options and make sure all the options are set the way it is in the capture below.
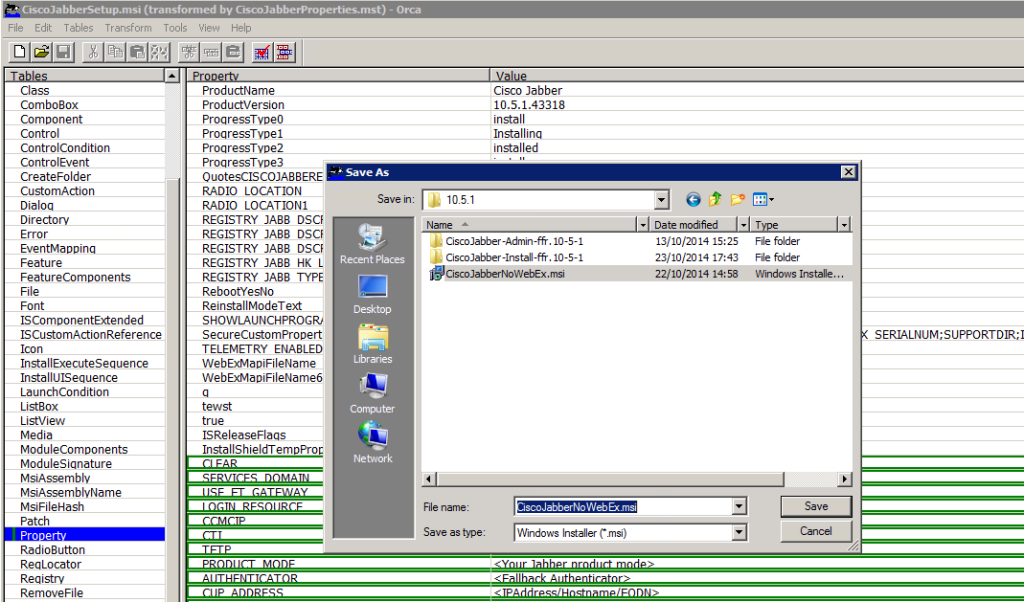
Click File then Save Transformed As, give the new MSI file a unique name and hit Save.
You can now use this newly created MSI file with your group policy deployment.


Very Good Post, Really Helpful
Great post , solved my problem